Showing posts with label Gallowmire. Show all posts

Monday, 14 November 2022

Dark Skies Over The Harrowmark - part 16, Megadroth Remains


Orruk Brute for scale (it's a BIG skeleton!)


I've wanted one of these big beauties since they were first previewed, but somehow only just got round to actually pulling the trigger.

I added a few branches from old Citadel Woods, so it looks like the forest is overgrowing the skeleton a little. I think that, once mixed in with the Wyldwood trees in my collection, they will help sell the idea.

Like those trees the Megadroth Remains will serve double-duty in both The Harrowmark (because a big skeleton is never out of place in the Realm of Death) and The Prowling Forest, in the Scarlands (because a big skeleton is also never out of place in the Realm of Beasts!).

Update: I was asked for the bone painting recipe on Facebook, so I will add it here too.
  • Spray undercoated black, zenithal primed grey.
  • Painted the bones with Wraithbone then Skeleton Horde Contrast.
  • Dry-brushed with Ushabti Bone all over then White Scar on the sharper edges.
  • Painted a little Plaguebearer Flesh Contrast onto the lowest parts, but with a "ragged" edge so there wasn't a "tideline".
  • Horns and spines then got a coat of Snakebite Leather Contrast.

Tuesday, 27 September 2022

Dark Skies Over The Harrowmark - part 15, the Wyldwoods


Three more Awakened Wyldwood Trees finished!

They were mostly painted with Contrast but a rough recipe is:
  • Halfords Matt Grey spray primer all over.
  • Brush-on Wraithbone Base onto all the leaves, mushrooms, skulls and bones.
  • Painted all the leafy areas with a cocktail of Nazdreg Yellow, Snakebite Leather, Matt Medium and a little water.
  • Painted all the bark (trunks, branches and fallen bits) with Goregrunter Brown Contrast.
  • Painted all the skulls and bones with Skeletal Horde Contrast.
  • Painted the metal brackets on the wooden joist with Leadbelcher Base.
  • Washed the rocks and wooden joist with Nuln Oil Shade.
  • Painted all the earthy areas with Steel Legion Drab Base.
  • Dry-brushed everything with Ushabti Bone, especially the skulls, bones, rocks and earth texture.
Then it was just supergluing the grass flock and leaf litter in random-ish patches and a quick spray of Munitorum Varnish all over, with a second coat (once the first was completely dry) on the parts that will get handled most during play.

They are for the Harrowmark in Shyish, really but they will see "action" on the tabletop first as part of the Prowling Forest in Ghur, in the Warcry campaign that we recently started.

Tuesday, 13 September 2022

Dark Skies Over The Harrowmark - part 14, a graveyard corner


(The board is far too cluttered for gaming, but this is just to see how all the trees look together.)


I have had this little corner wall and tree, in a very slowly progressing WIP state, on my desk since January 2021! But because Viktor and I are back exploring forests again, so I was motivated to actually get on and finish it.

I have also started building two more Awakened Wyldwood trees and I have another one still on the sprue that I hope to start soon. They are a bit faffy to build, so I won't be rushing them. I will just add a branch or two each session between working on other projects and leaving the glue to dry at least overnight, if not longer.

Tuesday, 30 November 2021

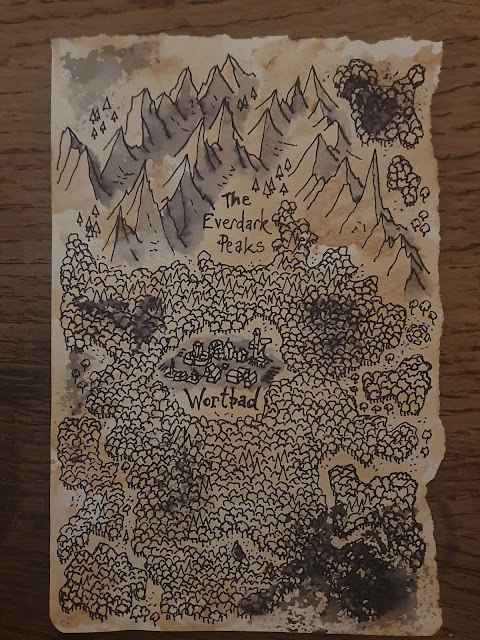
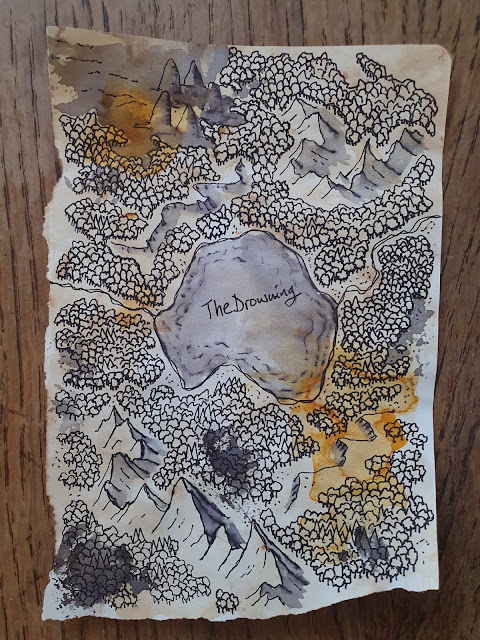
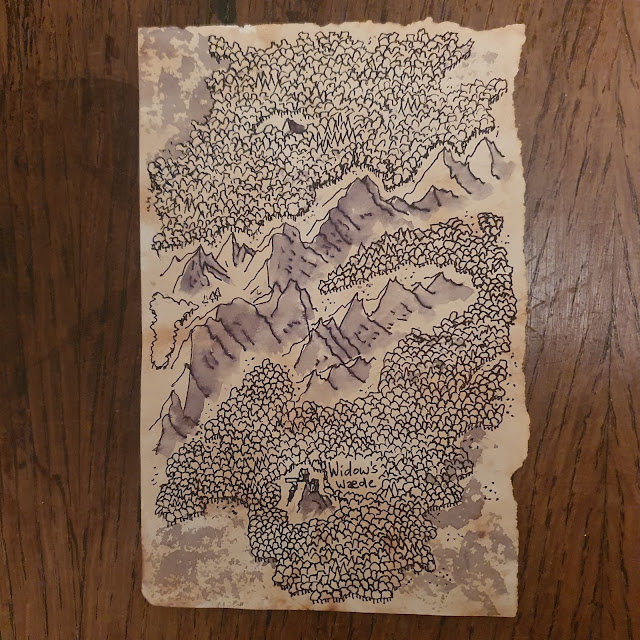
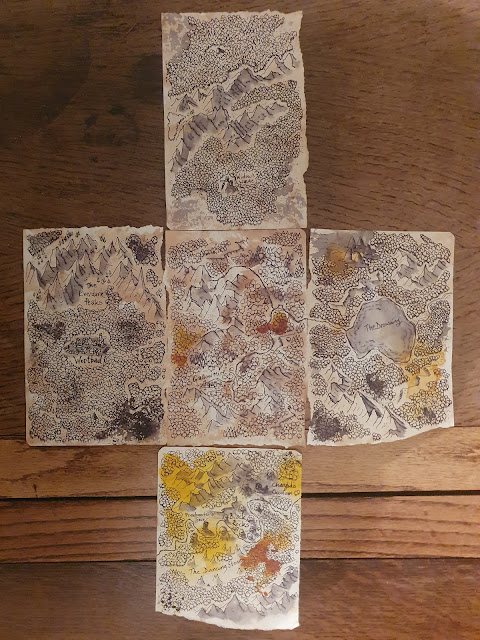
Mapping the Harrowmark


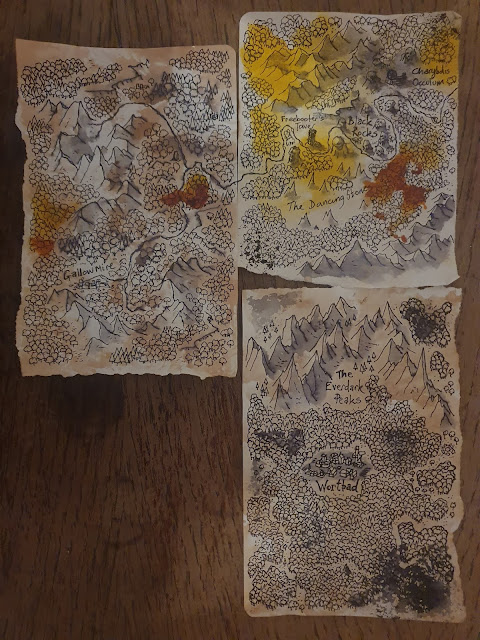
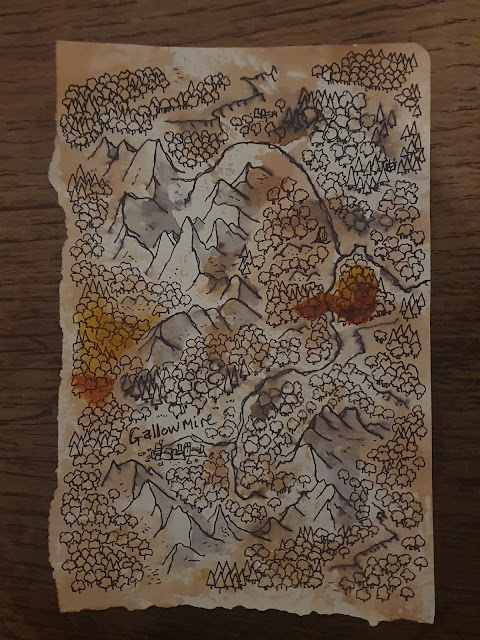
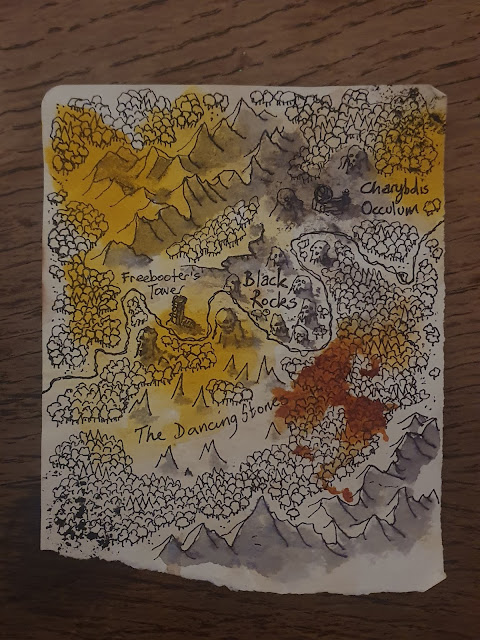
I've started to actually map the Harrowmark. I've been thinking about mapping it since Animosity iii ended.

I have never wanted to draw all of it as that feels like it will undermine the idea of an unnatural forest that seems to go on for 10,000 leagues in every direction. And it takes away from the idea that it is easy to get lost there. I also don't want to make some things too specific, like how far apart places are, or where things are in relation to each other - both of these tend to get nailed down by maps!

But I also really enjoyed the way the Aiii map made me think about The Prime Dominion in a different way to the way I think about the Harrowmark. My worldbuilding was more holistic and more coherent, as well as more thorough.

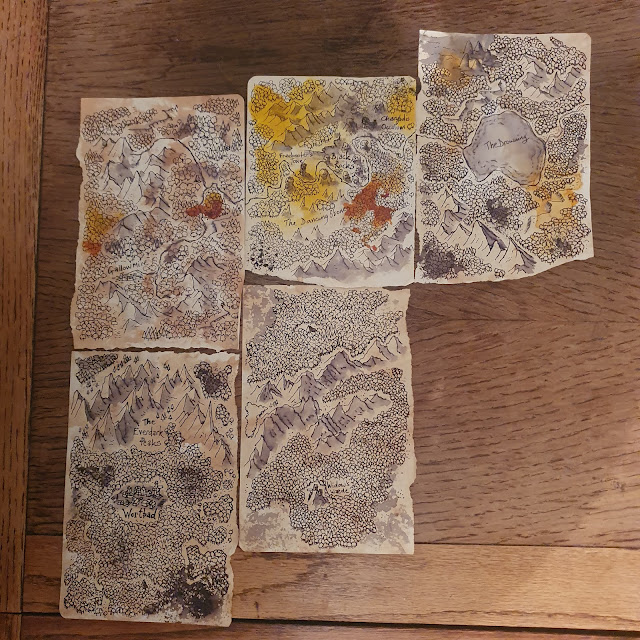
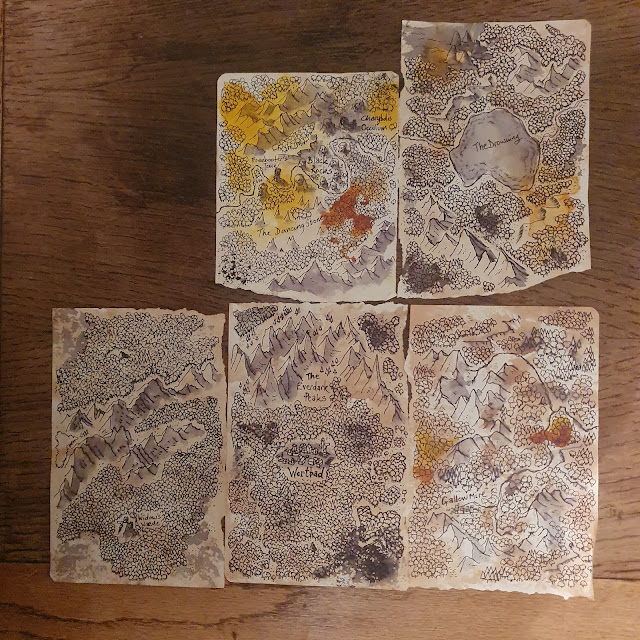
But I had an idea this week: What if I don't draw it all on one page? What if I draw each location separately, and the pages don't meet at the edges?

By putting each location on a page of it’s own, the distance between them is elastic.

Not just in what I write, but in terms of the way it works in-universe. The characters can't predict how long a journey will take, because things "shift" in the supernatural forest.

The pages might fit together, but they don't have to. If they do fit together in many configurations, is any of them "right"?

Then it's still very possible to get lost in the Harrowmark, even with a map.


Monday, 22 February 2021

Dark Skies Over The Harrowmark - part 13 Gallowmire mausoleums


These two mausoleums came from Mortal Realms Magazine (the full kit was split over two issues but it's still really good value!). I cut down the paving stones on one side of both parts so they would sit closer together. I filled the resulting small gaps with texture paint.


They will be serving double-duty for Gallowmire in the Harrowmark, and the Great Oubliette:


Monday, 25 January 2021

Dark Skies Over The Harrowmark - part 12 Gallowmire ruins

I'm working on more Gallowmire scenery for Warcry games in The Harrowmark. The first one is combined Sigmarite Mausoleum walls and gravestones (from Mortal Realms magazine) and an Awakened Wyldwood tree (from the Souldrain Forest set).


The second is a Warcry starter set ruin combined with another tree from the Souldrain Forest set, plus a few bits-box extras.


I'm hoping the rain will ease-off enough to get an undercoat on both of them so I can start painting soon!

(Updated 9th February 2021)

First of these two painted:


Wednesday, 13 January 2021

Dark Skies Over The Harrowmark - part 11, a Harrowmark Warcry board


I've wanted to make a Warcry sized Harrowmark board for a while. But it was only when I realised it was going to be really hard to play the solo campaign I've been planning without one that I started thinking about it in earnest.

I've decided to blog the entire process as a single post rather than spread it out over several parts, as it will be easier for readers to follow.

I looked around online for a suitable cork notice board (A1 sized, framed, and fairly sturdy) for a while before I realised I could order the right type of thing in Argos and pick it up with the weekly shopping in Sainsbury's!

So just before Christmas 2020, I came home with a 60x80cm notice board:


I didn't have much time to work on it before Christmas so I contented myself with testing how much scenery was needed to make it look full, but not too full.


After Christmas I started work on it. I found a handful of old Warhammer movement trays and cut them up as flagstones. I shaved the edges to make them look like chipped and worn stone.


I cut most of them as rectangles but I also cut a few diagonally, so they looked like they had cracked. I stuck them down with PVA wood glue. I also started making a few more pieces of scatter terrain.


I didn't want to have to cover the entire board in textured paint (I was a little worried about warping), so I ordered three 2mm cork sheets from eBay. They arrived on New Years Eve. I tore them into "random" shapes and glued them down with PVA.


Three sheets was not enough! I ordered 6 more - they arrived a week later, on 8th January. I only used 7 sheets in total, but I'll save the last two for use on more scatter terrain.


I glued some sand into the cracks between the cork sheets, plus a few bones from the Crypt Ghouls kit. 

I initially added a few skulls from the Citadel Skulls box, but I took them off again. The cork and the movement trays were all 2mm thick so the scatter terrain will sit flat on them. The skulls spoiled that. There are plenty of skulls on all the scatter terrain bits though! 


With that the board was ready for undercoat.


I sprayed it Chaos Black on the morning of 9th January. This was quick and easy, but it used a hell of a lot of the spray can - almost half I think. I kind of wish I had brushed on the matt black "blackboard" paint as I have a big can of it. It would have taken a lot longer but cost a lot less... I also nearly dropped it as I moved it back indoors. You can see the wiped-off paint on the frame where I caught it! Yes, my hands were then very painty...


Anyway, what was done was done, so I sprayed the flagstones with Mechanicus Standard Grey in the afternoon.


In the evening of 11th January I dry-brushed the flagstones with Ushabit Bone.


Then I used Steel Legion Drab (a big bottle of scenery paint I bought years ago) to paint the cork sheet and sanded areas.


While that was drying I washed the flagstones with Nuln Oil and pooled a little Athonian Camoshade into the Nuln while it was still wet.


Then it was dry-brushing time (12th January). A very light dry-brush of Ushabti Bone all over, then a more focused and slightly heavier coat of the same on the sand in the cracks.


Nearly there! I painted some Plaguebearer Flesh over the blackest parts of the flagstones to counter the pooling of Nuln Oil I wasn't happy with. Once that was dry I superglued dead grass flock and leaf litter into the cracks, in a few scattered areas, trying to keep them looking random and not too evenly spread out.


I still need to do some touch-ups of the black frame and give it a light coat of spray varnish (when it stops raining!) but I couldn't wait to try some of the Gallowmire scenery on it.

I'm very pleased with it. Pretty quick and easy (20th December 2020 to 12th January 2021 - with about a week waiting for the second delivery of cork sheet in between!) and it will look good with any of my Harrowmark scenery. I'm really looking forward to playing a solo campaign on it (and to playing against real people as soon as it is possible!!). 


The Cleavermaws had a look around too.


The board can also double as the Great Oubliette, with a filter added to the photos: